🌳 Planting
Planting your forest is no different from planting any other landscape — though, it can often involve the help of volunteers, some of whom might not be experienced gardeners.
Use the installation techniques below to PLANT, MULCH, and WATER your new forest.
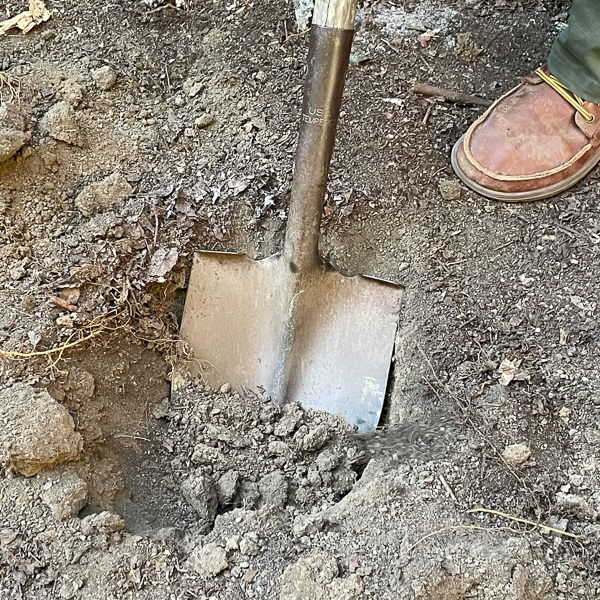
Step 1: Dig a hole
Dig a hole as deep as the rootball of your plant, but up to twice as wide.

Step 2: Pre-water the hole
Fill the hole with water and allow to drain completely. Dig other holes while you wait, doing the same pre-watering strategy for all holes. If you have time, do this 2-3 times per hole. If not, once is enough.

Step 3: Unpot your plant
Gently remove the plastic pot from around the rootball of your plant, supporting the weight of the plant with one hand and removing the pot with the other.

Step 4: Loosen roots
Tease apart any roots from the bottom or sides of the rootball that are coiling. Excessively long and stringy roots can be pruned to encourage more robust root growth.

Step 5: Set plant in hole
Place the rootball into the planting hole.

Step 6: Adjust plant position
Make sure the root crown is at or slightly above grade. If you see that the root crown is below grade, remove the plant and add additional soil below it to raise it higher in the hole.

Step 7: Backfill
Backfill the hole with the soil you originally removed when digging the hole. Use your fingers to shove soil down the sides of the rootball, making sure there are no gaps or air pockets left in the planting hole.

Step 8: Create berm (optional)
(Optional) Build a small berm around your plant with any excess soil to make watering easier. This berm will need to be knocked down after the first year.

Step 9: Mulch
Apply 2-3 inches of mulch around the plant, just past the berm if you’ve created a berm, or just 2-3 inches away from the stem of your plant if there is no berm. Mulch should not be touching the stem of your plant.

Step 10: Water
Water with a minimum of 5 gallons per plant. It’s useful to spot water each plant after planting, and then to follow up with another deep watering with a hose over the entire area at completion. It is not possible to overwater right after the initial planting, so be generous.