Create your forest
Your DIY guide to planning, installing, and maintaining a micro forest in Los Angeles.
🕳 Phase 1: Before you plant
🌳 Phase 2: On planting day
💧 Phase 3: After you plant
🕳 Before you plant
Plan and design your micro forest, calculate your plants and prepare the land for planting.
Step 1: Understand benefits and challenges
Micro forests are great, but that doesn’t mean that they’re a good fit for every situation.
Be sure you understand the benefits and challenges before planting a micro forest.
Benefits
Water-wise - survives on minimal to no supplemental irrigation after initial establishment period
Increases biodiversity - provides refuge and food for all manner of life, including insects, lizards, birds, soil microbes, etc.
Blocks views - Forms a living wall or buffer that can create privacy or hide unsightly visuals (i.e. freeway traffic, ugly block walls, nudist neighbors, etc.)
Restores soil - Supports soil food web and sequesters carbon at a higher rate than conventional tree planting.
Improves mental/emotional wellbeing - reduces stress levels and increases feelings of connection and engagement with the natural world.
Benefits science - Helps inform urban ecological research in the L.A. region when paired with apps like iNaturalist.
Challenges
Challenging in high fire risk regions - The thick and dense nature of the forest makes it difficult to follow current defensible space and landscape spacing guidelines near structures. Contact us for custom fire-wise design modifications.
Takes up space - Micro forests are not some “fad” to be removed after a few years. They are long-term investments, so make sure you’re comfortable with having lots of bushy shrubs and trees. Don’t want that, but still want a low-water, wildlife-friendly landscape? Check out Calscape for more info on landscaping with native plants.
Blocks views - When clear sight lines are required for security reasons or views desired, a micro-forest will block such views, unless modified.

Step 2: Select your site
Make sure your site meets all the following criteria:
Access to water nearby (hose bib, quick coupler valve, etc.)
6 or more hours of direct sunlight per day (if not, use Shady Forest type)
At least 10 feet away from any structures in low-fire-risk regions. (See FAQ for high fire risk recommendations)
Plantable area more than 12’x12’ with soil that drains (see Soil Drainage Test to be sure)
Accessible by vehicles (for transporting plants and tools)
Accessible by people who will be planting the forest (on foot or by vehicles)
Permission granted from the landowning person/department/agency/school/non-profit/etc.
Access to open ground without underground utilities (contact DigAlert to be sure)
Does your site make the cut? If so, now it’s time to design your forest.
Step 3: Design your Forest
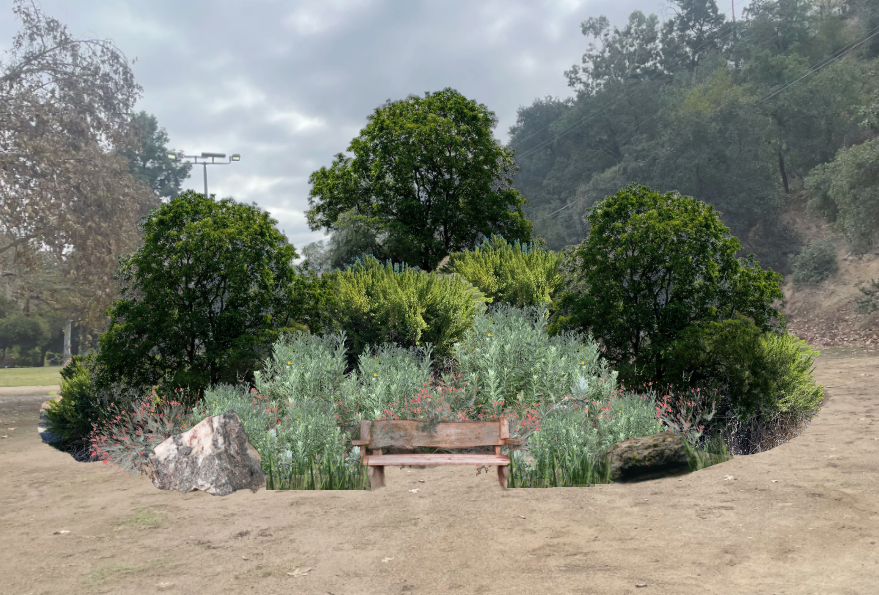
As long as your space fits the minimum size requirement of 12’x12’, your forest can take any shape. You may identify a location that is already confined by the boundaries of hardscape or you may choose to make your own borders.
Your design can be as simple as a circle or a square that you fill completely with your dense forest layers. Or, as long as the space can accommodate 10 feet in one direction, your forest can act as a thick living wall that forms a continuous habitat border along a fence-line.
TIPS:
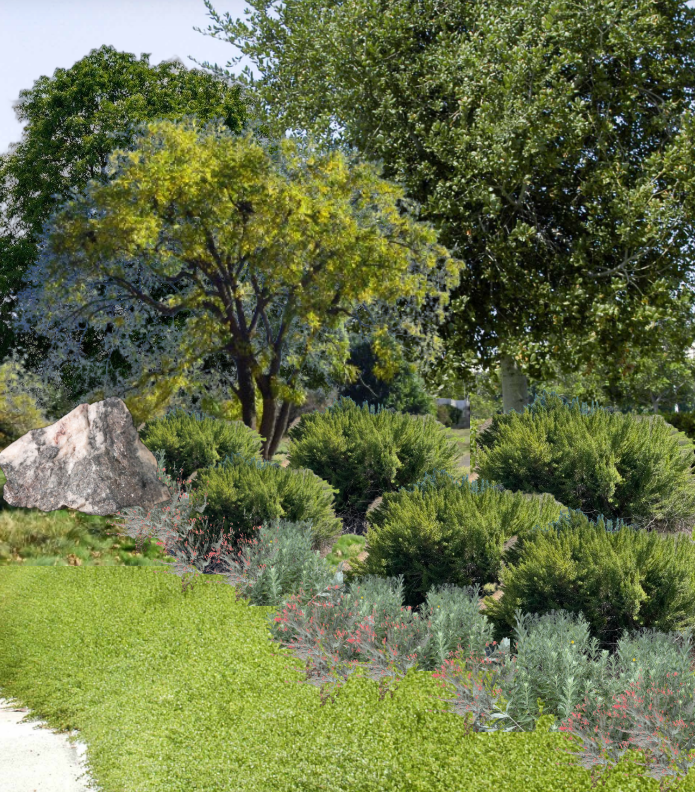
A walking path through the forest can create an immersive experience that encourages interaction and engagement. This feature is ideal in schoolyards where students are encouraged to use community science apps like iNaturalist to record their observations of biodiversity in the forest. Walking paths should be a minimum of 8’ wide to accommodate for the natural encroachment of vegetation on either side.
If planting next to a sidewalk, street, or other public right of way, leave an unplanted buffer of at least 5-10’ along the edges so that the forest does not encroach on spaces needed for public access. Alternatively, plant those borders with low-growing plants like common yarrow, goldenrod, needlegrass, or even low-growing cultivars such as Pigeon Point Coyotebrush.
Leave room for benches, logs, or boulders. They enhance habitat for humans and animals alike!
You can and should modify your micro-forest to fit your unique site conditions and constraints. Common modifications might include:
Prioritizing evergreen species and reducing density of trees and shrubs for fire-prone regions
Reduction of species diversity and the inclusion of low-growing species (or even certain cultivars) along a border to enhance curb appeal and create a more “formal” look
The elimination of the middle forest layers to enhance visibility
The next step of this guide will walk you through the process of calculating how many plants you will need for your micro-forest project depending on the square footage of your site. This website is designed to offer you the most unrestricted and dense style of micro-forest, so you are encouraged to make modifications to the website’s recommendations if the context and conditions of your project demand it.
Once you know how many plants you need, you can use the Plant Placement page as guidance for how to arrange your plants and trees on planting day.
Step 4: Pick your plants
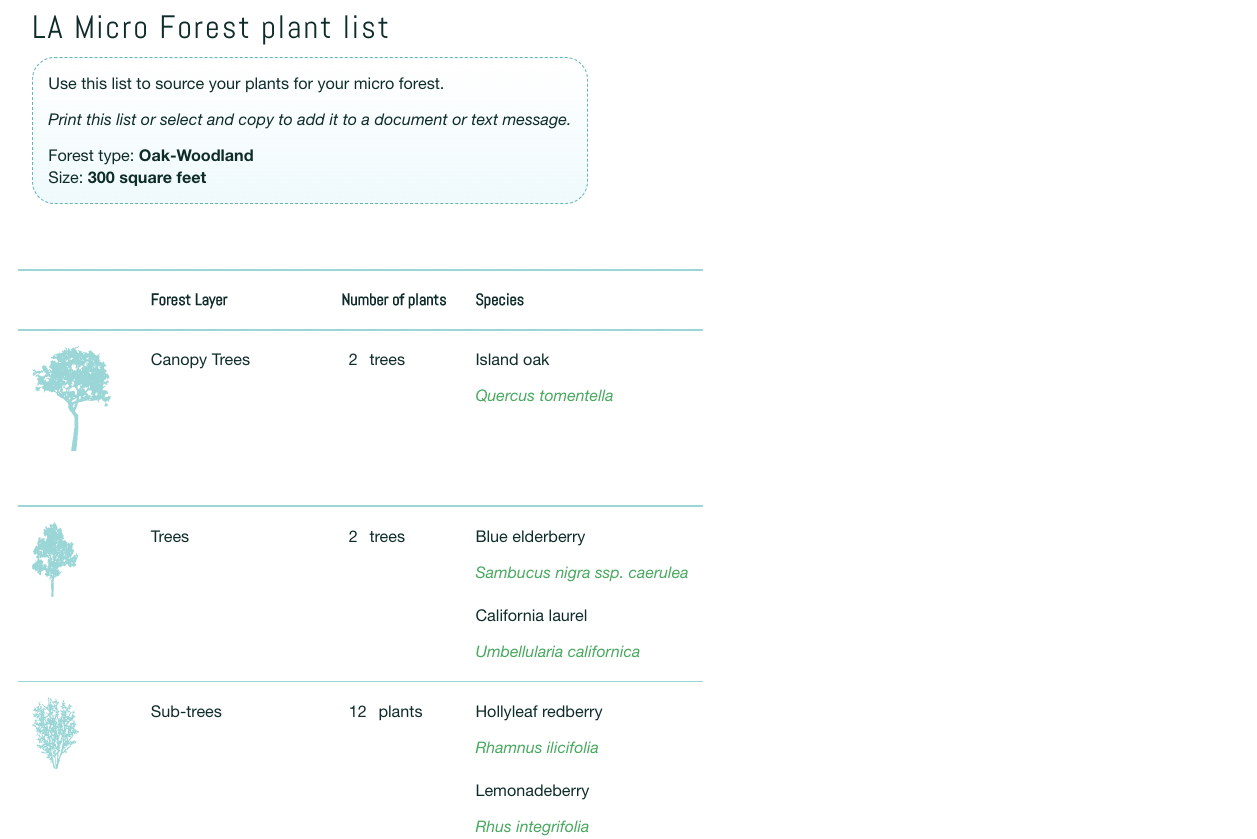
Select your species and calculate how many plants you will need for each layer of forest based on the square footage of your site.
Our plant calculator is programmed with local indigenous plants which are uniquely calculated by forest layer, and contains several different forests types for you to choose from, including Oak Forest / Woodland , Shady Forest and more. After choosing your plants, get your plant list to take to the nursery.
NOTE: The plant calculator will calculate the MAXIMUM number of trees and plants you would plant for your project. Use these numbers as a starting place, but feel free to customize and make adaptations to the list to align with the unique needs and/or limitations of your specific project, site, or budget.

Step 5: Get your plants

Pick small plants
Micro forests are designed to grow from small, transplanted saplings.
Choose smaller pot sizes (i.e. 4 inch, 1 gallon)
Tree species can be planted from 5 gallon pots, but ideally no larger. The larger the pot size, the longer it takes for a plant to get established and transition to their new home in the ground.
Buying plants in smaller pot sizes also helps keep the cost of the project lower, and makes the process of digging holes and planting physically accessible to the greatest number of people.

Species matters, seed source matters
Regional native plant species are adapted to survive in our harsh climate and provide high habitat value to our local wildlife.
Whenever possible, source native plants which were grown from regionally adapted, or locally-sourced seeds. For a list of native plant nurseries in the area, see our resources section.
Step 6: Site Prep
Follow these steps to prepare your site prior to planting
Weeding
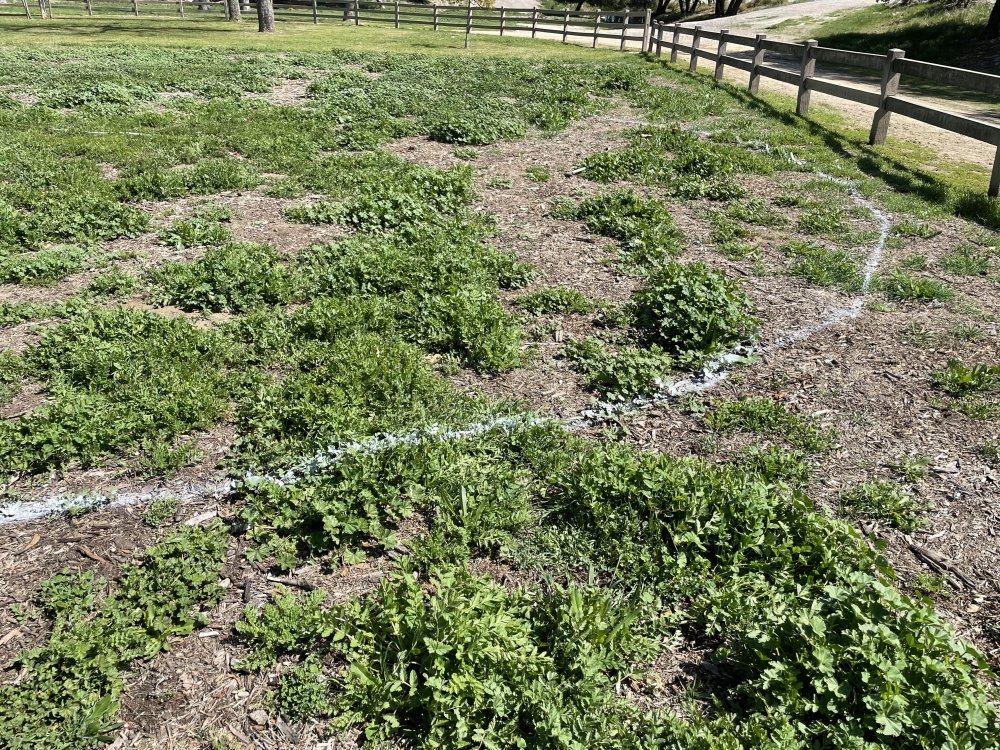
Depending on site conditions, weeds can either be manually removed prior to beginning any work, or they can be cut to the ground just before planting (leaving their root systems in place) and smothered with cardboard and mulch. The latter method is effective for smaller annual weeds. Larger weeds or perennial species may require complete removal.
To Till or Not to Till?
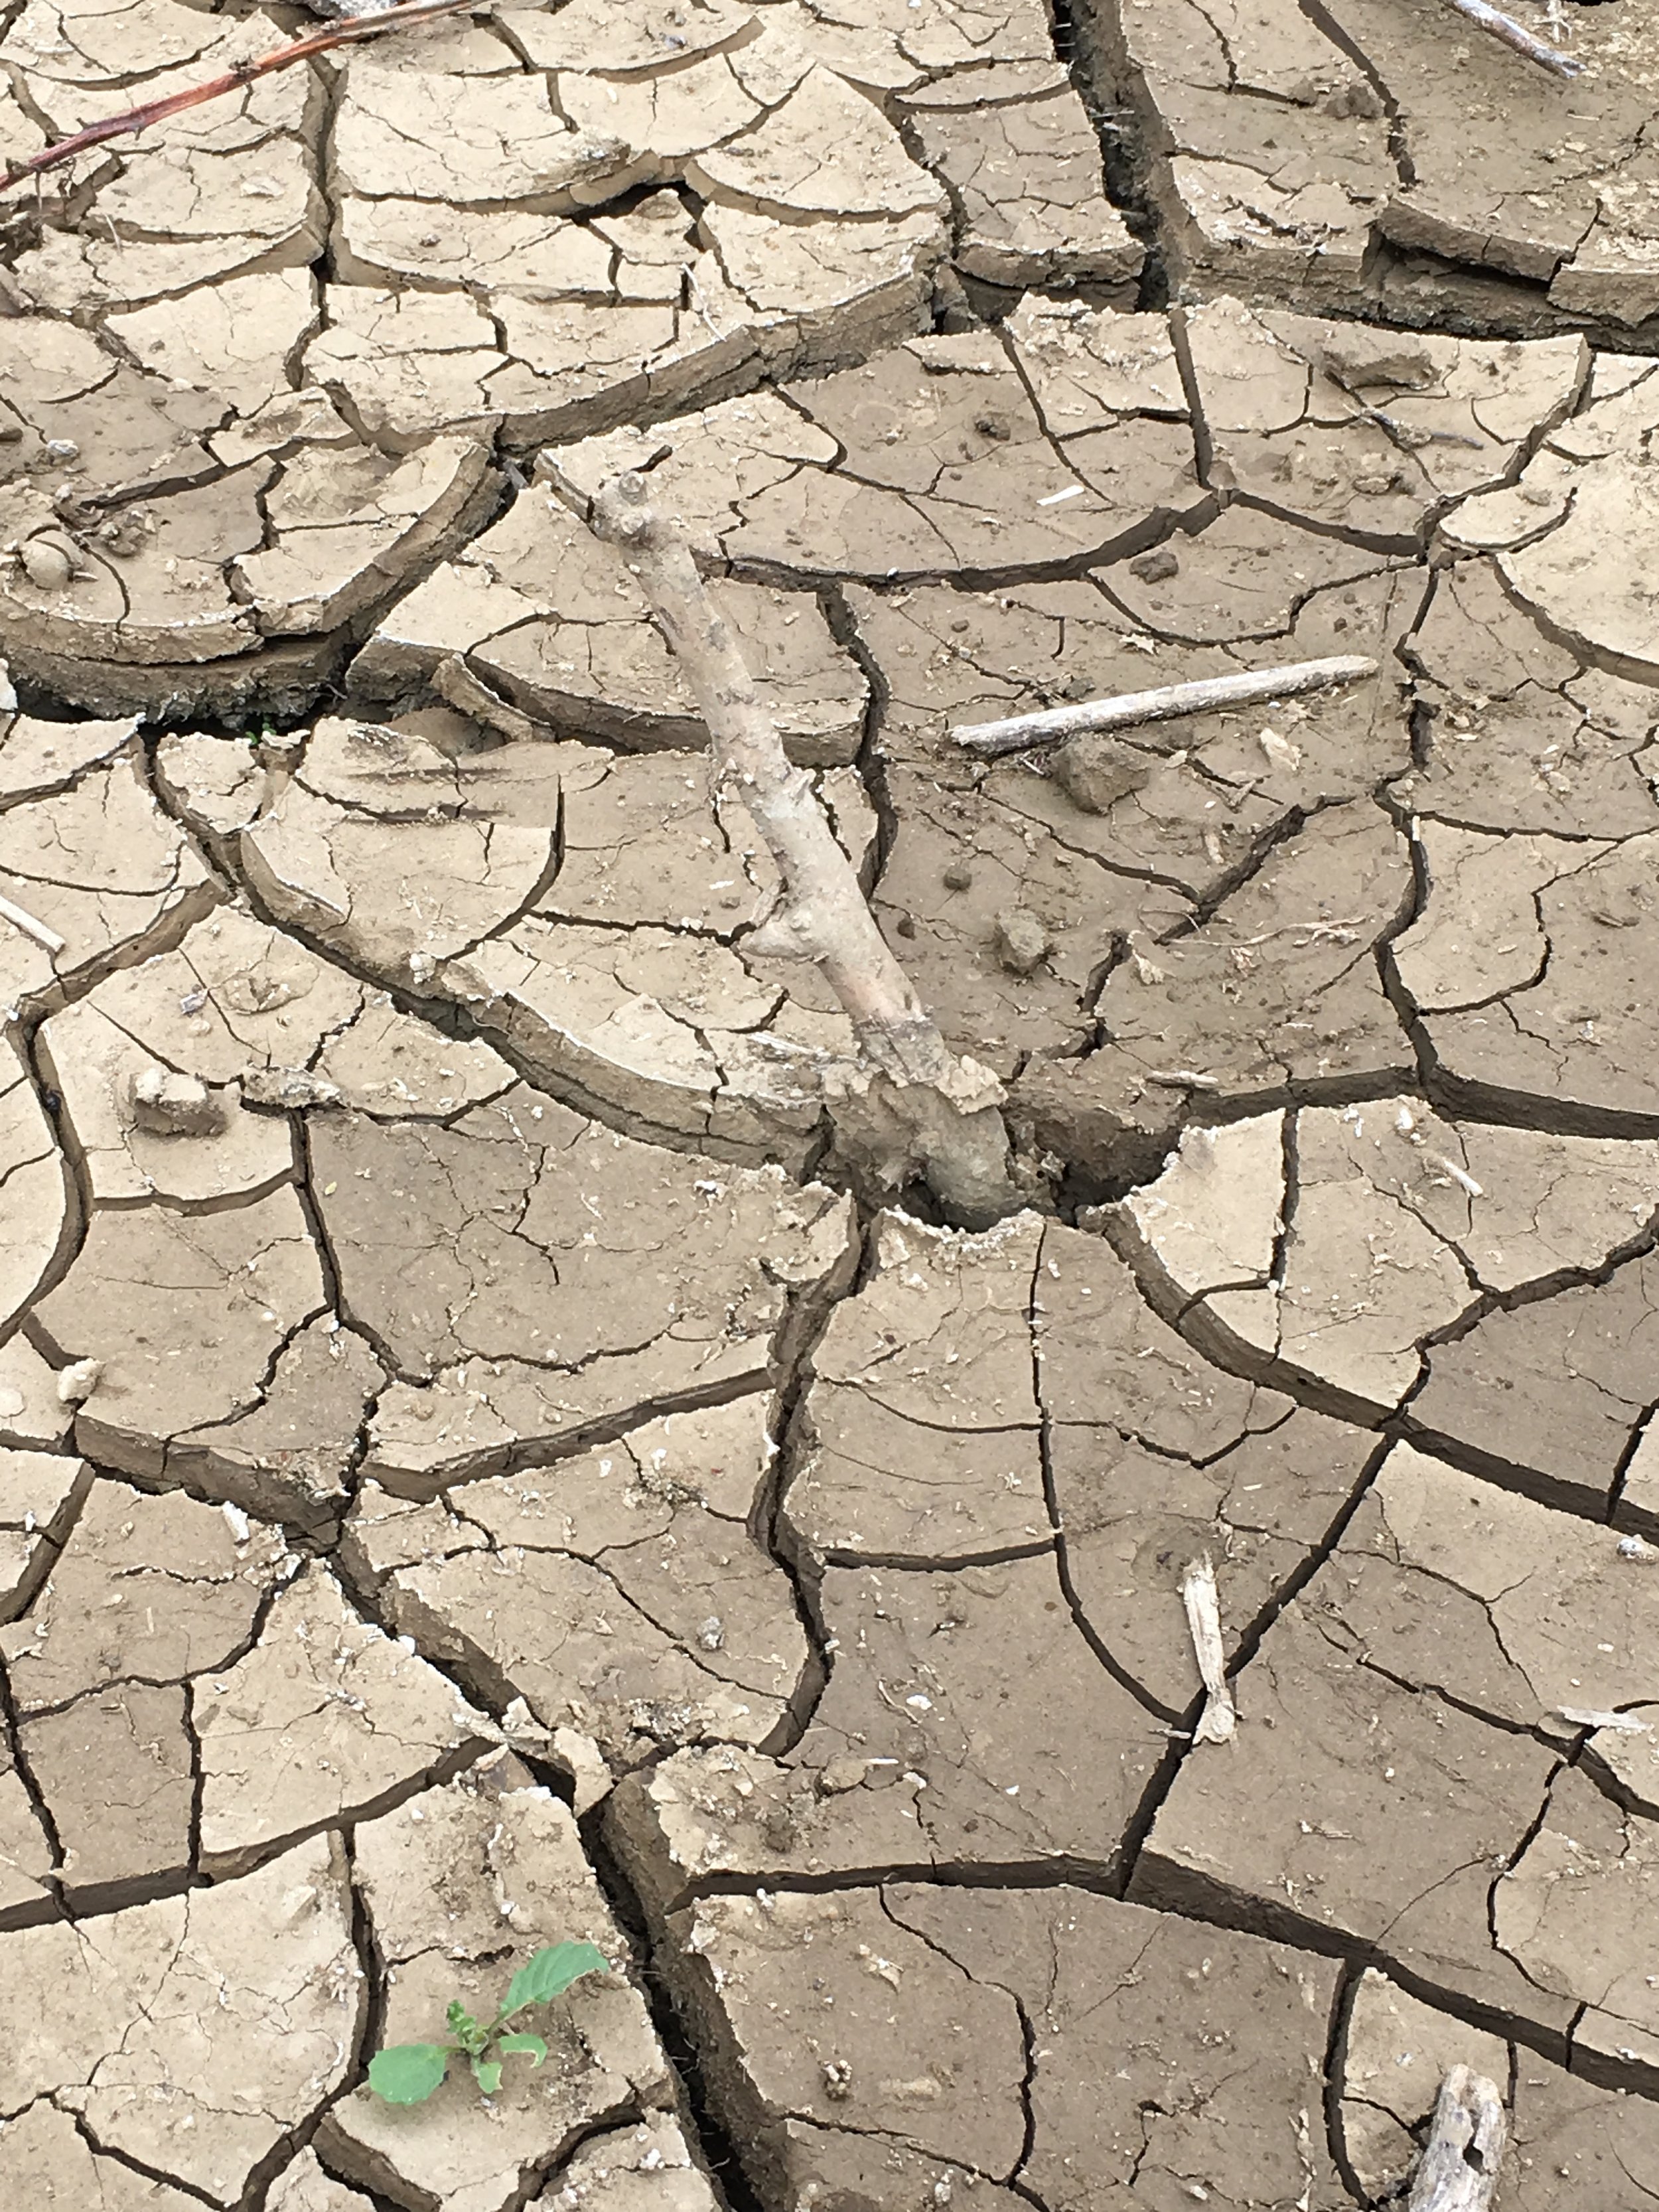
Since tilling creates conditions that are favorable to weeds and disturbs beneficial microbes, it should be avoided in most scenarios. In the event that the soil is so compacted and degraded that digging would be too difficult on planting day, then tilling the soil may be necessary.

Compost and Other Amendments
While drought-tolerant California native plants and trees are naturally adapted to thrive in lean soils with minimal fertility, there are some situations where extremely degraded soil would benefit from the addition of compost, biochar, or mycorrhizal inoculant. If your site does not have a history of supporting life in the form of plants, you may consider testing your soil biology prior to planting, as well as testing for the presence of indigenous beneficial mycorrhizal fungi. See our Resources section for more.

Install Protective Cages and/or Fencing (optional)
If planting in an active public park, a schoolyard, a natural area with deer, or on private property with rambunctious dogs, a temporary fence to protect the forest for the first year or two is a good idea.
In addition, protecting the root balls of your plants with gopher baskets below ground and/or constructing cages for your plants above ground can keep critters like gophers and rabbits at bay.
Buying or making these in advance of planting is recommended for sites with high herbivore pressure.

Pre-water the site
If the soil moisture levels are extremely low, and especially if your soil is hydrophobic, you may consider doing a few deep pre-waterings of the site several weeks prior to planting.
Be sure to allow enough time to pass between the last pre-watering and the planting day, or you run the risk of creating a muddy mess and overly compacting the soil when walking on it on planting day.
Waiting a week or two between pre-watering and planting is usually enough to reduce this risk. Similarly, if there is rain in the forecast, plan your planting day for immediately before the rain, or a week or two after the rain when the soil has had a chance to dry a bit. Don’t work with soggy soil.